How to Make Perfect Loose Waves
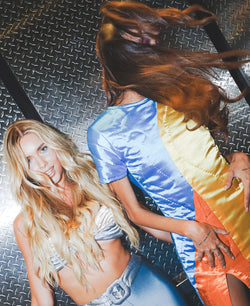
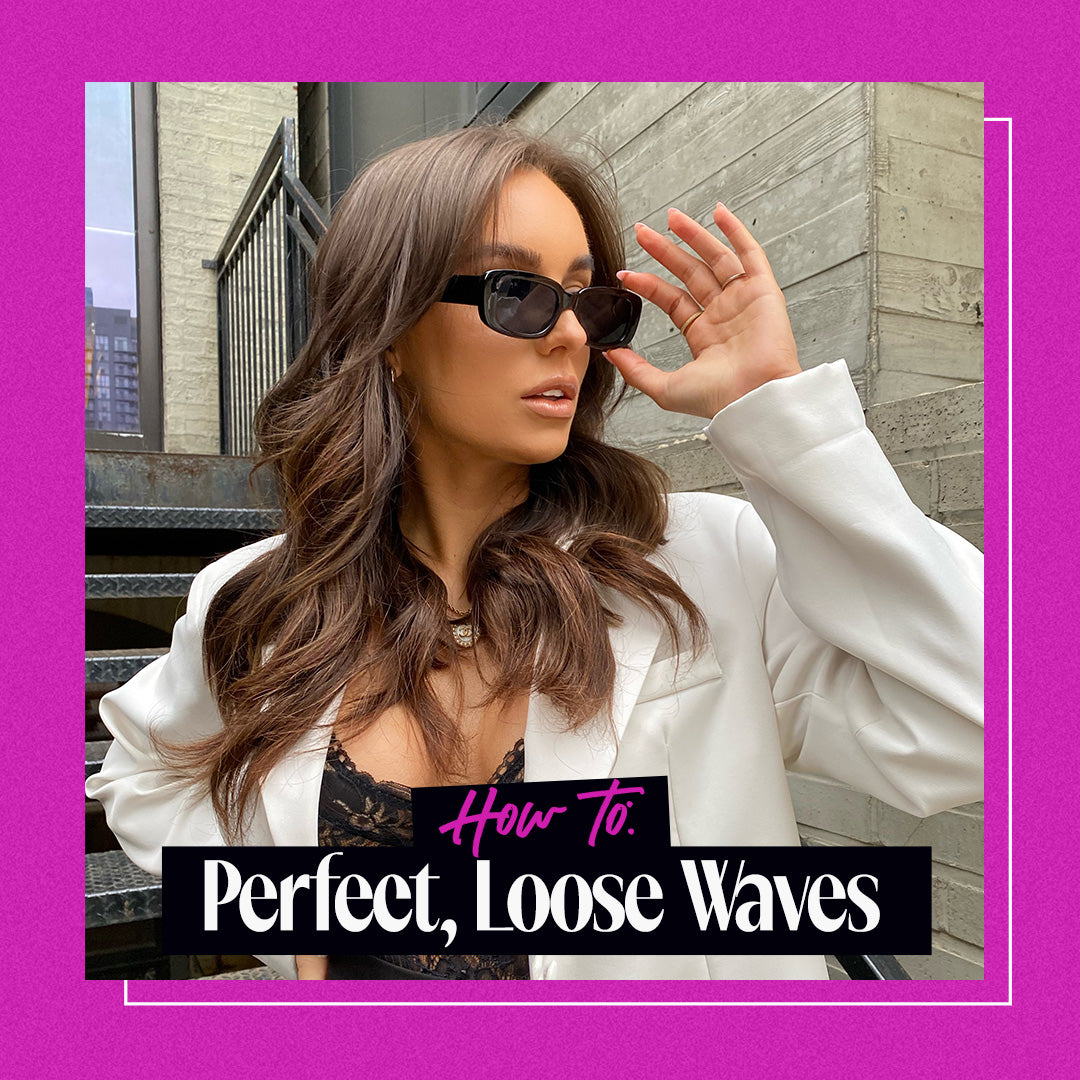
Ahh, those effortless, loose waves that seem to flatter everyone. We all want that summery and perfectly messy hair all year round. While it might not be practical for most of us to flaunt a bikini in December, we can still achieve that loose wavy hair and beachy look 365 days a year – no sunburn required.
Feeling Salty
The salty look doesn’t require a trip to the nearest beach – just your local drugstore or makeup store! Sea salt sprays can give your hair that tousled, piecey aesthetic. It also works great for creating loose waves in short hair, which may be harder to style and braid. To get the look, simply spray your hair when it’s still wet, gently scrunch, and allow it to air dry. If you want wavy hair but crave a bit more polish, spray a small amount on your already dried and styled hair. For very dry hair, it’s a good idea to look for a sea salt spray that contains a bit of a moisturizing oil so your hair doesn’t get frizzy.

Heating Things Up
Using a curling iron is probably one of the more traditional ways to achieve beachy hair. Here’s how to get those loose waves:
1. Use a curling iron with a wand that’s inch in diameter. Spray your hair with a heat protectant to avoid damage.
2. Curl your hair like normal, starting from halfway down the strand and avoiding the ends. That’ll help your waves look natural. For a more effortless look, try curling your hair away from your face.
3. Try to only clamp the curling iron down on your hair for about 10 seconds. Any longer will make the curl too tight and can cause damage. If your hair still isn’t curled to your liking, you can always redo sections. But stick to the 10-second rule!
4. Run your fingers through your hair after you’re finished to separate the curls. Then, add a quick spritz of hairspray to help extend your style.

Beautiful Braids
It's no secret that braids are back in style, whether you rock them for a fun look or use them to create soft waves in your hair. Another perk of braiding your hair is that you can make loose wavy curls without any heat damage. A win-win for everyone!
Here’s how:
1. Start by letting your hair dry slightly and priming it with a mousse to help combat any frizz.
2. To create a loose wave hairstyle, braid your hair into large sections, making relaxed, loose braids. You can also do a French braid – your braids will just start slightly closer to your scalp.
3. Allow your hair to air dry. You can leave the style in for a few hours or keep it braided overnight. When you’re ready, take out your braids, run your fingers through your hair, and finish with a light hairspray to help the style hold.

Straighten Things Out
Want gorgeous waves but don’t have a curling iron and really don’t want to invest in another hot tool? Good news: In just a few steps, our baddies with straightening irons can easily achieve glamorous, beachy waves.
1. Look for an iron with ceramic plates rather than titanium plates. Titanium plates heat up faster, but ceramic plates actually help protect your hair and keep it moisturized. Ceramic plates also evenly distribute heat, so they’re more likely to protect your hair from damage. And it goes without saying: Use a heat protectant spray!
2. Start by separating your hair into sections. Then, flip the curling iron upside down so the cord is facing the ceiling. Clamp the iron down on one section.
3. Wrap the hair around the straightener and then clamp down the iron at the base of the section. Angle the straightener away from your face so your curls look more natural. This also protects your face from any accidental burns. (Bonus!)
4. Repeat until you’ve curled the entire section. Give your hair a bit of a twist to keep it springy and then spritz it with a small amount of hairspray to give the curls some hold. Finish the rest of the sections and then run your fingers through your locks to loosen the curls.
Use this method to achieve Olivia Pura’s Purrfect Halloween look:

We hope we inspired you to try some new loose hairstyles. Let us know in the comments what you think!
Share It
Trending 3
-
December 1st 2023
-
November 6th 2023
-
October 4th 2023
