How to Style Clip It
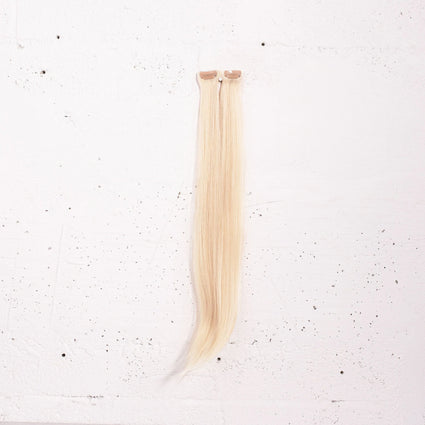
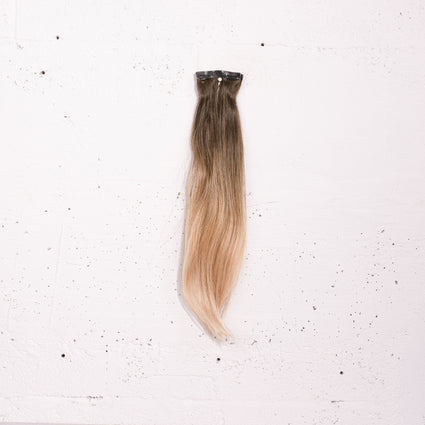
Our DIY Clip It hair extensions go on in minutes and come off in seconds. Clip them in for a date night-out, boozy Sunday brunch, or a leveled-up office look. No matter where you rock your Clip It’s you’ll never have to worry about damaging your natural hair due to the secure silicone clips with a matte coating!
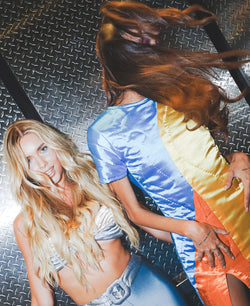
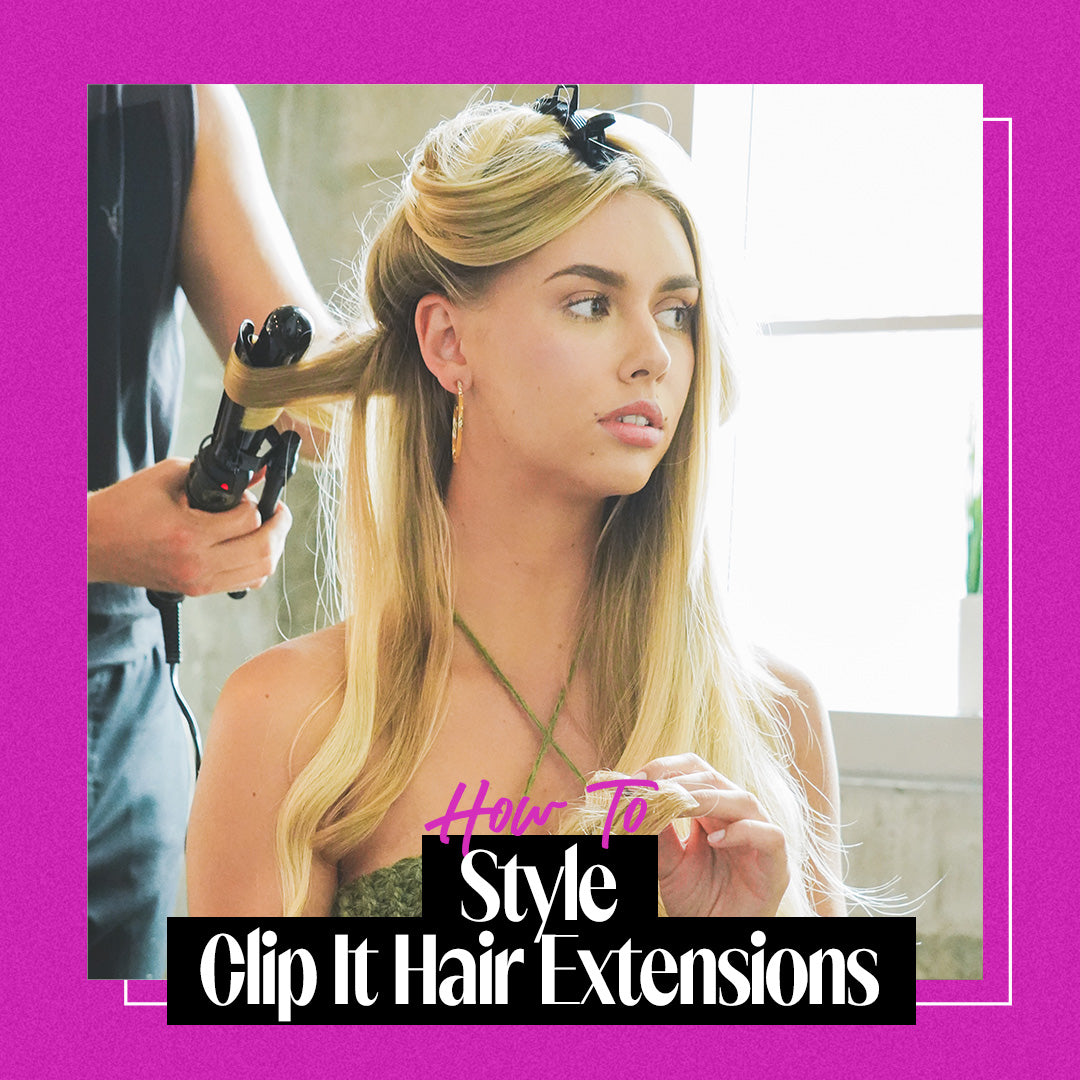
We’ve got some Wicked Baddies modeling the perfect styles to go with your Clip It extensions. Here’s your step-by-step guide to achieve these super cute looks.
Ready to get that glam on-the-go look with Clip It? We know you’ll feel fab with your new luscious locks.
Our DIY Clip It hair extensions go on in minutes and come off in seconds. Clip them in for a date night-out, boozy Sunday brunch, or a leveled-up office look. No matter where you rock your Clip It’s you’ll never have to worry about damaging your natural hair due to the secure silicone clips with a matte coating!
We’ve got some Wicked Baddies modeling the perfect styles to go with your Clip It extensions. Here’s your step-by-step guide to achieve these super cute looks.
Beachy Loose Waves
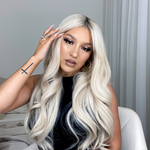
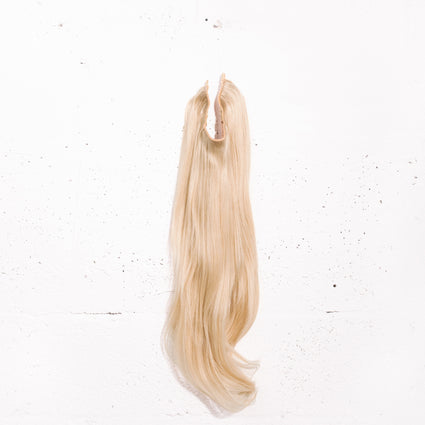
 @jaxvicious with 20" Clip It in Platinum Blonde
Our favorite look for: Brunch
- Start by curling your Clip It extensions first before applying them to your natural hair. PRO TIP: Do not exceed 350°F when using heat styling on your extensions to avoid damage.
- Apply a heat protectant spray to your hair. You can also use mousse to help hold the waves, but make sure the hair is fully dry before curling.
- Divide the hair into one-inch sections and curl about two inches down from the roots.
- Apply the Clip It extensions to your hair and blend in the waves by running your fingers through the curls to give that natural look.
- Use a sea salt spray for texture and use hairspray to keep your waves intact. PRO TIP: Use styling products that are sulfate-free on your Clip It.
Super Sleek Straight
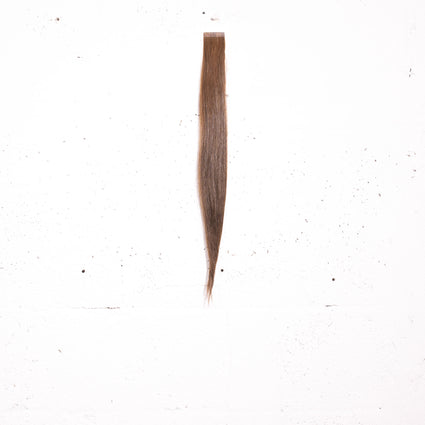
 @tamiastyles with 16" Clip It in Dark Brown
Our favorite look for: Date Night
- Use a heat protectant spray on your hair before straightening and gently brush to distribute evenly. PRO TIP: Straighten your Clip It extensions before clipping them into your natural hair to avoid pulling on clips when applied.
- Separate hair extension wefts into sections to make sure each piece is fully straightened.
- Keep the heat setting as low as possible and avoid touching the clips. Only heat up to 350°F with the extensions.
- Straighten your natural hair and add your Clip It extensions to create that extra length and volume. Use setting spray as needed.
Voluminous Low Pony
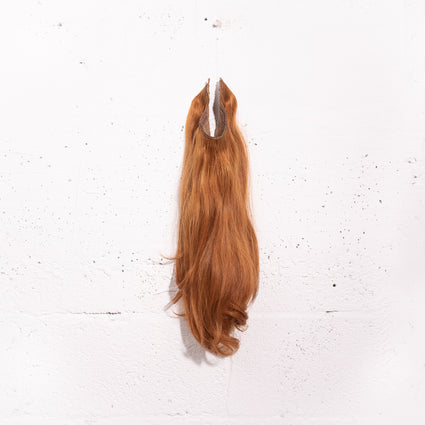
 @sydneybakich with 16" Clip It in Butter Ombre
Our favorite look for: Work
- Spritz your hair with texturizing spray to bring out a natural wave and add a little hold and volume. PRO TIP: Your Clip It comes slightly waved already, which will add to this style!
- Pull your hair into a low pony with the base at the nape of your neck. Use your fingers instead of a brush to pull into the ponytail for a relaxed look.
- Push up your hair at the crown to add some volume.
- Spray hairspray over the top of your hair to clean up any flyaways. PRO TIP: Use small face-framing pieces of hair on either side of your part to soften and pull together the style.
Half Up Claw Clip
 @oliviapura with 16" Clip It in Chocolate
Our favorite look for: Running Errands
- Gather your hair starting from the top of the ears to the mid-crown leaving out pieces around the face. PRO TIP: Tease your natural hair at the roots to create volume and texture.
- Pull back the top section of your hair into the claw clip at the back of your head.
- Add a small spritz of hairspray to set this style.
Loving your new Clip It extensions? We want to see how you rock ‘em. Tag us on social media with #wickedrootsfam and we’ll share your gorgeous new look!
Share It
Trending 3
-
December 1st 2023
-
November 6th 2023
-
October 4th 2023
