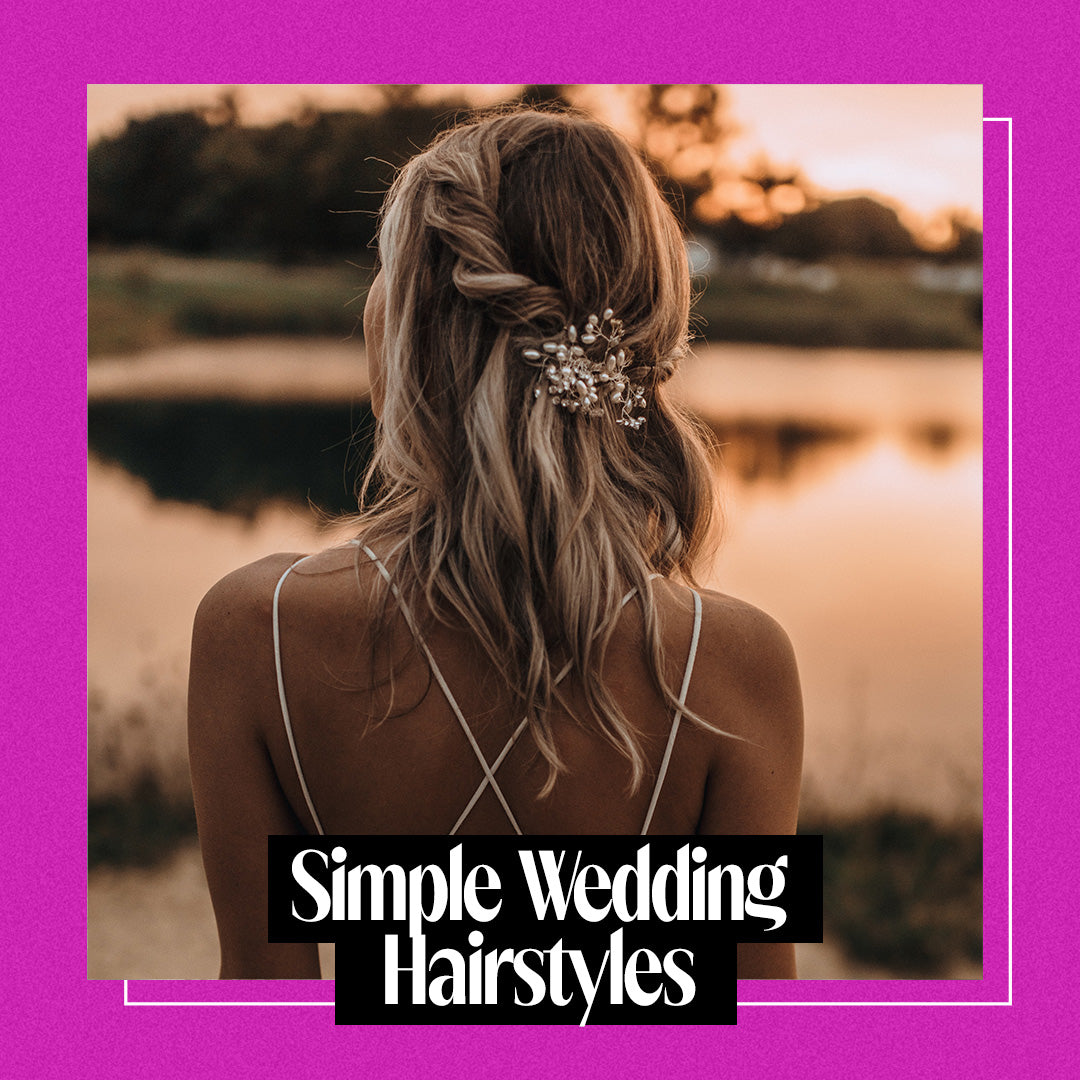
Simple Wedding Hairstyles You Can Do on Your Own
Finally! After all those months (years?!), of planning your wedding, the day has arrived. You’ve narrowed down the guest list, dreamed up every detail for the most stunning outdoor wedding, and tried on your dress 100 times to get the perfect fit. But if you haven’t figured out how to style your hair yet, let us show you a few DIY wedding hair ideas that are sure to impress your nearest and dearest.
Updos
If you’re dreaming of a pulled-back, hair-up glow up for your wedding, you’re in the right place, gorgeous!
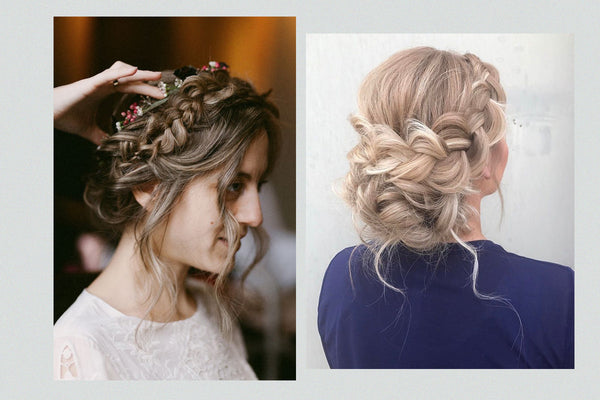
Boho Braided Updo
This simple wedding hairstyle is elegant and boho at the same time. You can use any elastic hairband for this updo with a twist, but a flower crown looks a bit more innocent and provides some fun pops of color.
Here’s how to make it happen:
- Separate your hair down the middle and create two ponytails of equal height at the back of your head on both sides. Secure with a small clear elastic.
- Turn the ponytails into classic braids and pull at the sides to make the braids appear fuller.
- Tuck each braid into the ponytail elastic at the top.
- Pull one side through the loop created by the other ponytail.
- Secure the updo to your head using bobby pins.
- Use an angled mirror to see the back and pin as tightly as you’d like!
- Pull out a few face framing pieces and pull at the hair around the crown to add some additional volume.
- Head out to meet the love of your life – today is all about you!

A Sleek Bun
A smooth bun is a classic and timeless style that’s easy to DIY in four easy steps:
- Apply a volumizer to damp hair. Create a diagonal part, using the arch of your eyebrow as a guide. Mist your hair with a firm-hold hairspray to tame flyaways.
- Create a low ponytail. As you pull your strands through the elastic for the last time, form a loop with a dangling tail.
- Put your finger through the loop of hair and push it up until it meets the back of your head. Use wire U-pins to attach the loop to the back of your head.
- Move the hanging tail section to the opposite side of your ponytail’s base, tuck the ends under the top loop, and secure it with pins to create a sleek, gorgeous bun worthy of your big day.

A Bow Bun
This DIY wedding hair is a sweet and feminine twist on the sleek bun that’s sure to impress your guests. Follow these quick steps:
- Curl your with your favorite curling rod. We recommend a curling rod with a larger barrel.
- Pull your hair into a ponytail at the crown of your head. When you’re pulling your hair through the last time, only pull it through halfway, leaving the tail out.
- Split the poof of the ponytail in half and loop the tail over the split to create the bow’s center.
- Secure with bobby pins and hair spray. Spread the two sides of the bow to accentuate the shape.
Long DIY Wedding Hairstyles
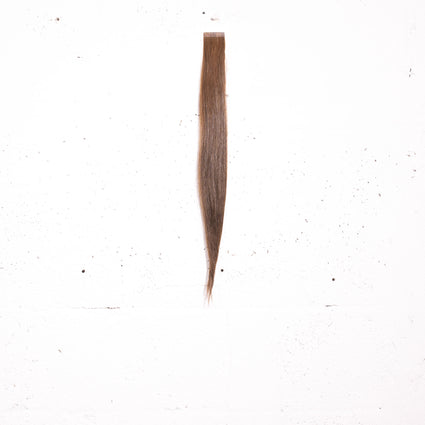
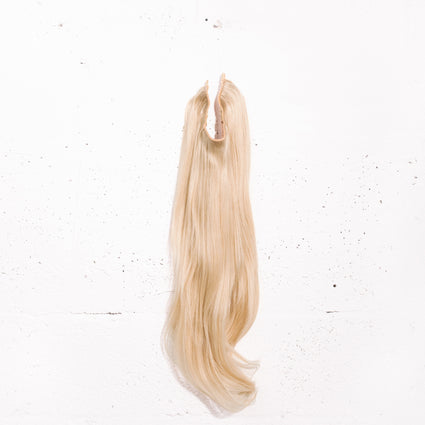
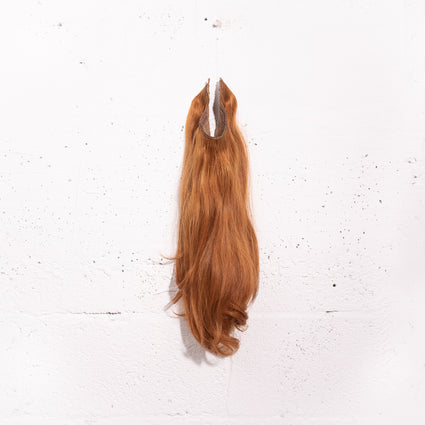
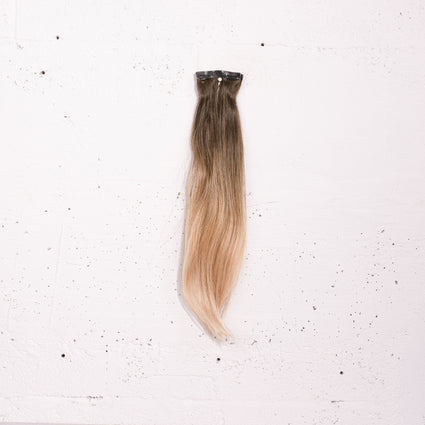
Adding length or volume to your hair for your big day is easy with Remy human hair extensions. The best DIY hair extension options are Clip It and Band It. If you prefer a semi-permanent hair extension option that’ll last you through all your major events and the big day, you’ll want to opt for Tape It. Either way, you’ll want your hair to be perfect – your night will fly by but those wedding photos are going to last forever!
Here are a few wedding-ready styles you can easily DIY with your hair extensions.

Beach Waves
Show off your easy-breezy, free-spirit style with this simple wedding hair look. Here’s how to create those gorgeous waves:
- Section hair into four quadrants – top and bottom, left and right.
- Take a one- to two-inch section of your hair and wrap it around the curling iron clamp, holding the curling iron upright with the clamp facing forward. Leave an inch or two out of the clamp and twist the iron away from your face. Hold for three to four seconds before opening the clamp and pulling the iron straight down while releasing the curl.
- Before touching any of your curls, spray a flexible hold hairspray on your hairbrush. Gently brush through your waves before applying a finishing cream to the ends to tame flyaways.
- Once your hairstyle is set, elevate it with crystal clips, hairpins, or a hair vine.
Tip: When heat styling your DIY wedding hair with extensions, always use a heat protectant spray and keep the heat at or below 350℉.

Old Hollywood Waves
If there ever was a reason for this super glamorous hairstyle, it’s your wedding day. Embody the Hollywood starlets of the ‘40s and ‘50s with this DIY wedding hair that’ll make your photos GORG – guarantee.
Follow these steps to DIY your waves:
- Section your hair diagonally from your temple to your nape and secure it with clips.
- Take one section (left or right) and comb it toward the opposite side. Pin it into place for a side-swept look. Criss-cross your pins for extra security.
- Using a one-inch curling wand, wrap each section horizontally from the bottom to the top. Curl the rest of your hair in the exact same manner and direction.
- Let your curls cool before gently brushing them out in a downward motion.
- Place clips in the hair to define your waves and spray with a firm hairspray to set.
- Remove clips and strut your stuff.
DIY Wedding Hair with Wicked Roots Hair Extensions
Are you ready to make heads turn on your big day? WOW your guests and the love of your life in your new look with Wicked Roots extensions.
We can’t wait to see how you style your wedding look from head to toe, so post those pictures and tag us @wickedrootshair. Enjoy your wedding, you beautiful baddie! You look amazing! And congratulations!
Share It
Trending 3
-
 December 1st 2023
 -
 November 6th 2023
 -
 October 4th 2023