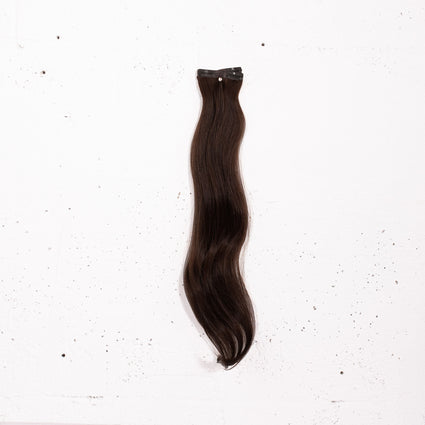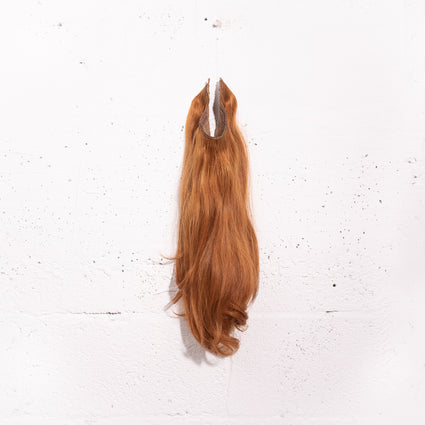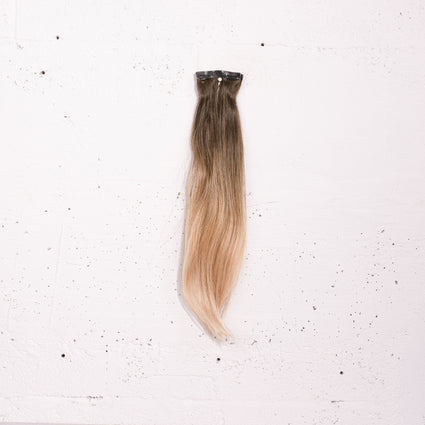
Celebrate Hairstylist Appreciation Day with Wicked Roots Hair™
Where would we be without our hairstylists? They make us look and feel beautiful with a confidence boost every time we leave their salon chair. Banish bad hair days with the help of talented stylists. It’s essential to show your hairstylist appreciation!
We love partnering with hairstylists that are hair extension experts. When you’re fresh from your hair appointment with your new set of extensions, everyone will ask, “who did your hair?” That’s the type of hair magic that makes you really appreciate your hairstylist!
For Hairstylist Appreciation Day this year, we’re giving a special nod to our Wicked stylists for everything they do! Keep reading to learn more about our stylist program, plus a Tape It™ hair extension tutorial for all of you stylists using Wicked Roots Hair™ extensions.
What is The Stylist Collective™?
If you’re a stylist looking for high-quality hair extensions, this program was designed especially for you! We wanted to create a program that shows our hairstylist appreciation for those that perfect the art of their hair extension services. Wicked Roots Hair™ extensions are salon quality 100% Remy human hair, so you know your clients will have the best quality possible with us.
Get all the details on our program with The Stylist Collective™ FAQ:
Why should I join?
- Stylist Discount: Salon professionals save 25% on all products in our shop, including new product drops
- Get Paid: Make a 10% commission when your clients purchase Wicked Roots products directly from our online shop
- Client Savings: Your clients receive 15% off their purchases when they use your commission code
Do I have to sell a certain number of products?
- No Pressure to Sell: You’ll always get the best discount no matter how many extensions you sell
Is there a membership fee or fee to join?
- No Fee to Join: No hidden costs or membership fees EVER
How do I join?
- Create a Wicked Roots Shop Account if you haven’t already
- Submit your Wicked Roots Stylist Collective Application (note: please make sure to use the same email associated with your Wicked Roots Shop Account)
- Upload a copy of your cosmetology license or business license as well as your resale tax certificate, if applicable, through the link in the Account Pending Email you’ll receive
- After your account is approved, you’ll be directed to the Stylist Dashboard to authenticate your email address
- When you can access the dashboard, you’ll need to upload your tax documents (W9-/W8-BEN).
- Once uploading these documents, you’ll receive your 25% discount code, as well as a unique referral code to track your sales
- Customize your referral code in the dashboard and start making money!
We hope to welcome you soon to The Stylist Collective™! If you have any more questions about the program, you can contact us directly at info@wickedrootshair.com.
Tape It™ Tutorial
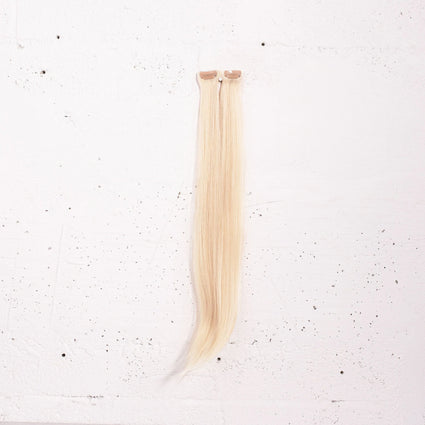
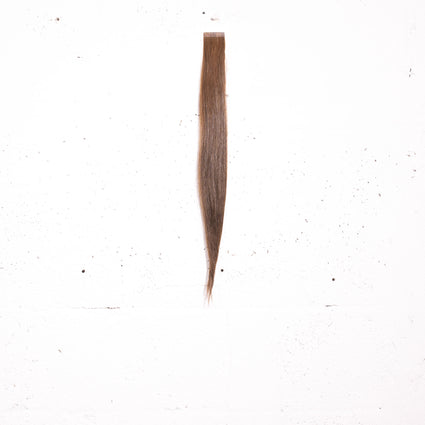
If you’re a hairstylist offering hair extensions, you’re likely very familiar with tape-in extensions. Our Tape It™ extensions are semi-permanent tape-in extensions that blend flawlessly with your client’s natural hair (here’s how to color match using our Swatch Ring™.) Once you get your first order of our tape-in extensions, follow this easy tutorial for application tips and tricks.
Color Matching Client
Ensure your client’s hair extensions match their natural color. With Tape It™, you can mix and match shades for the closest match possible. Check the match at the root and at the ends. This will help to create dimension.
Sectioning Hair
Divide the hair into three sections—two front sections and one back section. You’ll begin working in the back, at the nape. Drop a small section about one inch from the hairline. Clip up the remaining hair. The first extension will be placed here, adhesive side up.
Application
Peel the adhesive backing off the hair extension to expose the tape. Take a small horizontal section that’s the same density and width as the extension. Flip the section up while holding the hair and place the extension 1/4 inch from the scalp. Roll the hair over the adhesive and smooth it.
Remove the adhesive backing from your second extension. This one will be placed on top of the other, adhesive side down. Press down on the extension tabs to seal the bond. Flip up the section to ensure the tabs are not visible.
Placement
Beginning at the nape, each extension should be placed 1/4 inch away from the previous. Work in horizontal sections, moving up the head. Make sure to work in clean sections, ensuring all hair is laid smoothly. Extensions should be about two fingers away from the hairline to minimize visibility.
Continue working in sections, moving up on the head until you get to the row above the ears. Using the brick-lay pattern will ensure there are no gaps in the extension application. Each new row will begin on the opposite side, creating a brick-lay pattern.
Extensions per row will vary depending on the size of your client’s head. Move on to the sides of your client’s hair. Then go back and check for any gaps you might need to fill in to complete the application.
Happy Hairstylist Appreciation Day! Make sure to follow us on Instagram @wickedrootshair for more hair tips and inspo.
Share It
Trending 3
-
December 1st 2023
-
November 6th 2023
-
October 4th 2023


