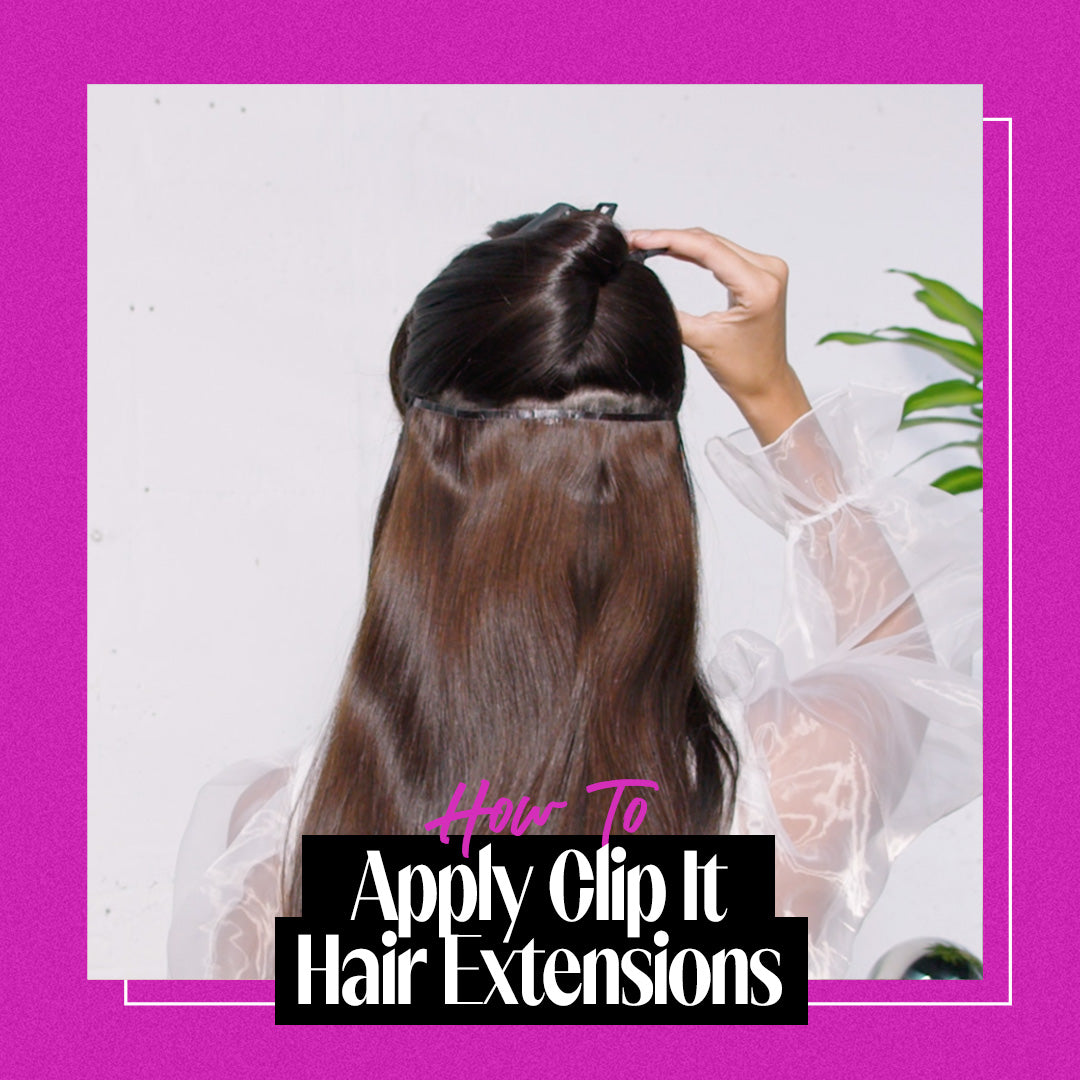
How to Apply Clip It

[Application Video: https://youtu.be/L6L8TPbPAhg]
With our Clip It hair extensions, you’ll add length, volume, and dimension to those locks in a matter of minutes!
Clip It’s Coolest Features
These extensions require ZERO commitment and are super easy to clip in and take out when you want to switch up your look. Clip It is completely safe to wear every day. Best of all, you can apply them solo in the comfort of your own home. No trip to the salon required!
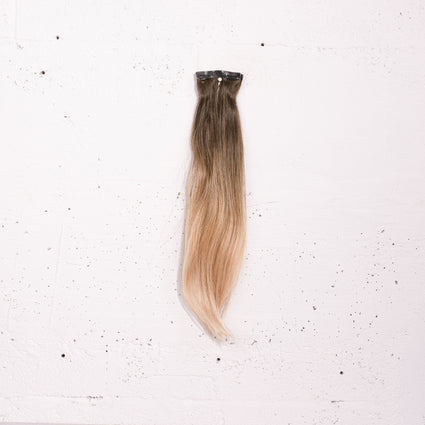
Each weft features 3 layers of salon-quality, 100% cuticle-on Remy human hair. With seven pieces per pack, placement is super easy!
- 8” Weft has 3 Clips (1 Piece)
- 7” Weft has 3 Clips (1 Piece)
- 6” Weft has 3 Clips (1 Piece)
- 3” Weft has 2 Clips (4 Pieces)
Follow our easy step-by-step guide below to install your Wicked Roots Clip It extensions:
Step 1: Prep for Extensions

Start by gently brushing your natural hair and the extensions to eliminate any tangles. Use a brush specifically designed for extensions like a paddle brush or a sectioning comb.
Using the proper brush helps prevent hair breakage and keeps your Clip It looking healthy and tangle-free.
Tease your natural hair at the root prior to applying for a more secure base.
Step 2: Start with the 3-Clip Wefts

Start 1.5 inches away from the nape of the neck. Section a straight, thin, horizontal row of hair and clip the rest up.
Take the 6” 3-clip weft and measure the weft against your head to ensure a secure fit. Find the center of your head and clip the middle clip into the roots of your hair.
Clip as close to the roots as possible, but make sure it fits comfortably.
Once the middle clip has been secured, clip the left and right sides, pulling the weft taut. The same process will apply for every weft section, moving upward.
Step 3: Continue Up the Back of the Head

Continue sectioning with the 7” weft, then 8” weft in neat horizontal rows about an inch above the prior clipped weft. Working from the center of the weft, clip the middle clip into the roots of your hair. Once the middle clip has been clipped in, clip the left and right side, pulling the weft taut each time.
Step 4: Move to the Sides

Once you have used all of the 3-clip wefts, use the 2-clip wefts on the sides. Start by separating a straight, thin section of the hair about two inches above the ear.
Take a 3” 2-clip weft and secure the clip closest to your hairline first, then secure the second clip closer to the back of your head.
Be sure to stay two fingers away from your hairline.
Repeat the same process on the other side of your head and check for symmetry.
STYLING TIP: Looking for hair inspo? Find cute ways to style Clip It with our step-by-step guide.
Voila! Now you have gorgeous long locks with volume to match. Make sure to tag us on social using the hashtag #WickedRootsFam and show us your fab new look!
Share It
Trending 3
-
 December 1st 2023
 -
 November 6th 2023
 -
 October 4th 2023