How to Use and Apply Your 20 Inch Hair Extensions
When you want voluminous hair that’s ultra-long and gorgeous, 20 inch hair extensions will take your locks to the next level. No need to wait until your hair grows (you might be waiting years!) when you have hair extensions. Elevate any hairstyle, from a high ponytail to beachy waves, with 20 in hair extensions that will enhance your look. Switch up your style on the regular or when you have a special occasion—the possibilities are endless with 20 inch hair extensions.
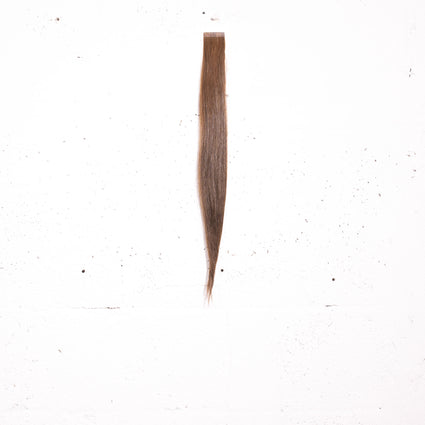
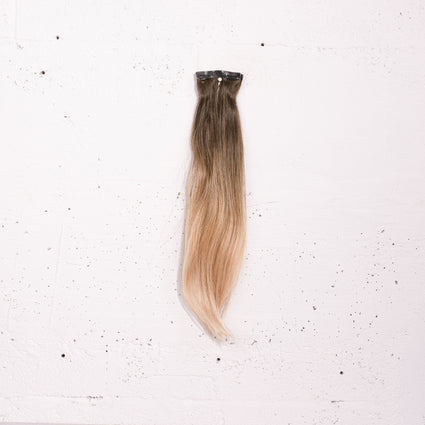
If you want long locks without the commitment, 20 inch hair extensions are easily applied and removed. If you choose 20 inch clip in hair extensions or band style extensions, you can do these yourself at home. For 20 inch tape in hair extensions, these are applied by your stylist and either removed or reapplied after up to eight weeks of wear.
In this post, we’ll go over how to apply your 20 inch hair extensions in all three of our Wicked Roots Hair™ extension styles: Clip It™, Band It™, and Tape It™. Now, time to transform your tresses and learn how to put extensions in!
How to Apply Clip It™ 20 Inch Hair Extensions
Grab your 20 inch clip in hair extensions and use our step-by-step guide to make applying your Clip It™ hair extensions super easy.
Step 1: Get ready to apply your 20 inch hair extensions and brush out your natural hair.

Step 2: Apply your 20 inch clip in hair extensions, starting with the 3-clip wefts. Clip your hair up on the top of your head, leaving a section of the bottom most layer unclipped. Place a 6” 3-clip weft against your scalp and on top of your bottom layer of hair. Clip the weft into your hair as close to the roots as possible. Secure the middle piece first and then the right and left sides.

Step 3: Repeat this process. Take down another layer of hair, covering your 20 inch hair extensions and lower layer, and then clip another weft into place.

Step 4: Use the 2-clip wefts to repeat the process on the sides of your hair, and you’re good to go!

Whether you’re using your 20 inch hair extensions for a special event, to glam up for the night, or anything in between, reach your ultimate hair goals with flawless 20 inch clip in hair extensions.
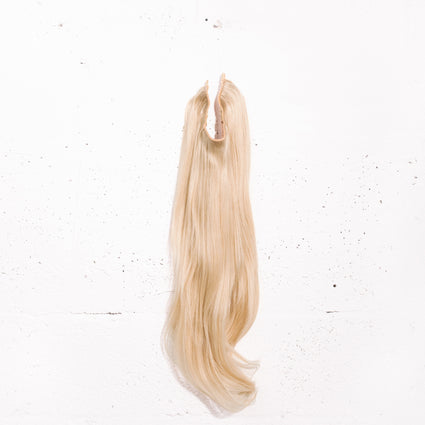
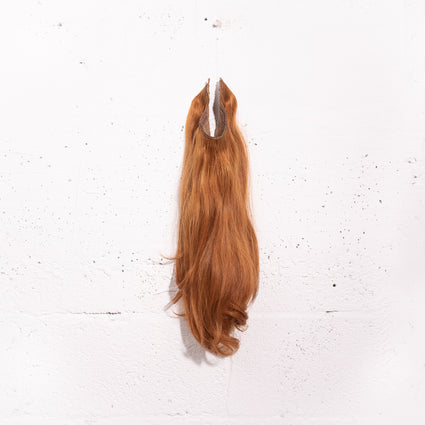
How to Apply Band It™ 20 Inch Hair Extensions
Now that you know how to apply 20 inch clip in hair extensions, let’s look at band style 20 inch hair extensions. Learn how to apply Band It™ step-by-step below!
Step 1: Get ready to apply your 20 inch hair extensions by brushing your hair.

Step 2: Gather the upper layers of your hair and pin them in a bun on the top of your head. Leave out a few locks at the front to frame your face.

Step 3: Stretch your 20 inch hair extensions across the hairline under your bun, and secure the clips in place. Use the clear string to secure it on top of your head. Then, carefully let your hair down. Brush out your hair to smooth everything over, or blend together using a curl or wave.

And that’s it! Band It™ is super easy to apply and gives you the stunning long and voluminous strands you’ve been waiting for.
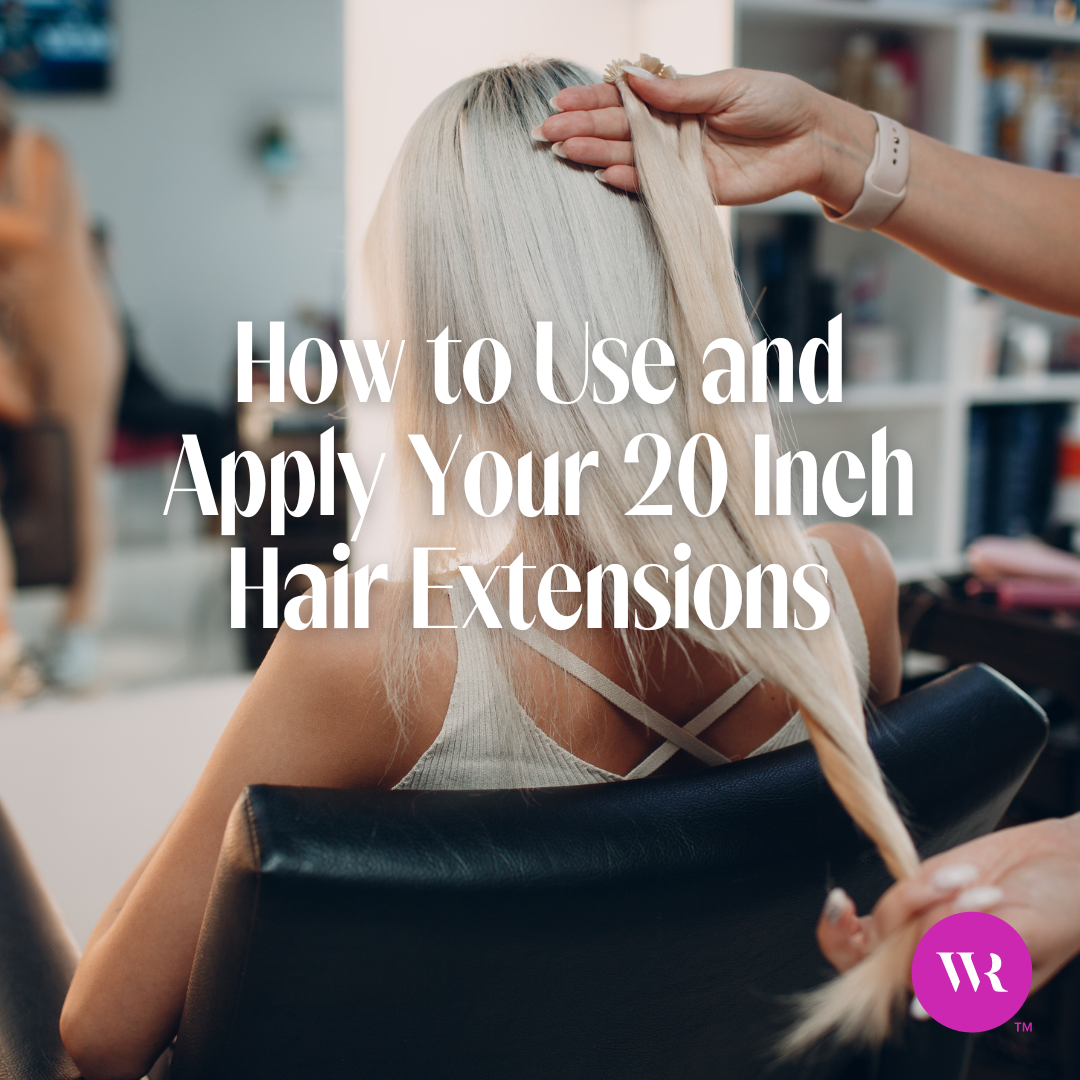
How to Apply Tape It™ 20 Inch Hair Extensions
If you’re working with 20 inch tape in hair extensions, this requires more hair expertise than Clip It™ and Band It™. You’ll need to book an appointment with a stylist that specializes in the hair extensions tape in method.
Here’s what you can expect when you have your Tape It™ 20 inch hair extensions applied at the salon:
Step 1: Start by brushing and detangling your natural hair and your extensions.

Step 2: Next, the stylist will pin the topmost part of your hair, section it, and then gently tape extensions onto your remaining layers (typically double-siding or layering the pieces).

Step 3: The stylist will repeat the process, style your hair, and achieve your hair goals!

Keep Your 20 Inch Hair Extensions Looking Fresh and Fabulous
Now that you know how to put extensions in, you can enjoy your stunning 20 inch hair extensions! Having new hair extensions in will bring a renewed sense of hair confidence. To keep the good hair vibes going, it’s essential to have a maintenance routine for long-lasting strands. Check out our maintenance tips and tricks for flawless strands.
Which one of our Wicked Roots Hair™ 20 inch hair extensions will you choose? Let us know in the comments below!
Share It
Trending 3
-
 December 1st 2023
 -
 November 6th 2023
 -
 October 4th 2023